🎟 Click Here For The Fall Entertainment Schedule Of 2025 Ticket Sale!!
- HOME
- Headcovers For Cancer Patients
- Diy Head Wrap From T-shirt
DIY Head Wrap From T-Shirt
Why Wear A DIY Head Wrap From T-Shirt?
This DIY head wrap from t-shirt craft is fun to do all year 'round for any age!
You can choose any shirt with a cool print to turn into a beautiful head wrap!
You can do this at home, to cover your head and hair in a fashionable way which can actually be much more comfortable than wearing a wig or a stiff hat.
Why would you want to do this craft when you can just buy the head cover that you want, you ask?
Answer: Well for me it is because sometimes, I can't find a style that is in my taste in the stores or online.
Another reason is because maybe I just don't want to look like like everybody else and show up to the beach or get-together with the same exact pattern head wrap that somebody else is wearing.
This happened to me at school once. I should up on the first day of a new school where me and two other girls were wearing the same exact shirt! It was funny because we were only 12 years old. But if I were in high school, I would have worried if everyone was comparing us on who wore it best.
Showing up to a gathering with the same exact clothes as another person can get uncomfortable or even embarrassing if others joke about it too much!
I never forgot about that school day and so I always try to find clothes that are in style but hard to find items.
Or you may not care if somebody else is wearing the same clothes as you, heck you may actually want to wear identical outfits with your friends on purpose. I find that fun too, but mostly when it is planned!
In fact, I have a fun tip later on this page about how this shirt can turn into two identical head wraps for you and for a friend if you would like to match with a buddy!
So let's get started!
Step By Step DIY Head Wrap From T-Shirt
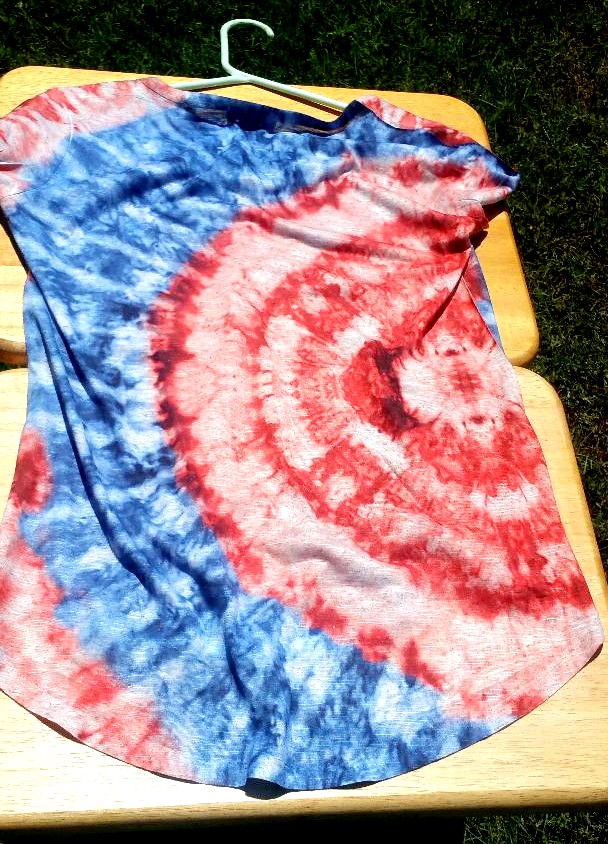
Choose any t-shirt that you want.
Although some fabrics are easier to work with than others.
Tip: As a general rule, fabrics like cotton, linen, and a cotton linen blend are great fabric choices to work with for beginners because they do not slip or stretch that much.
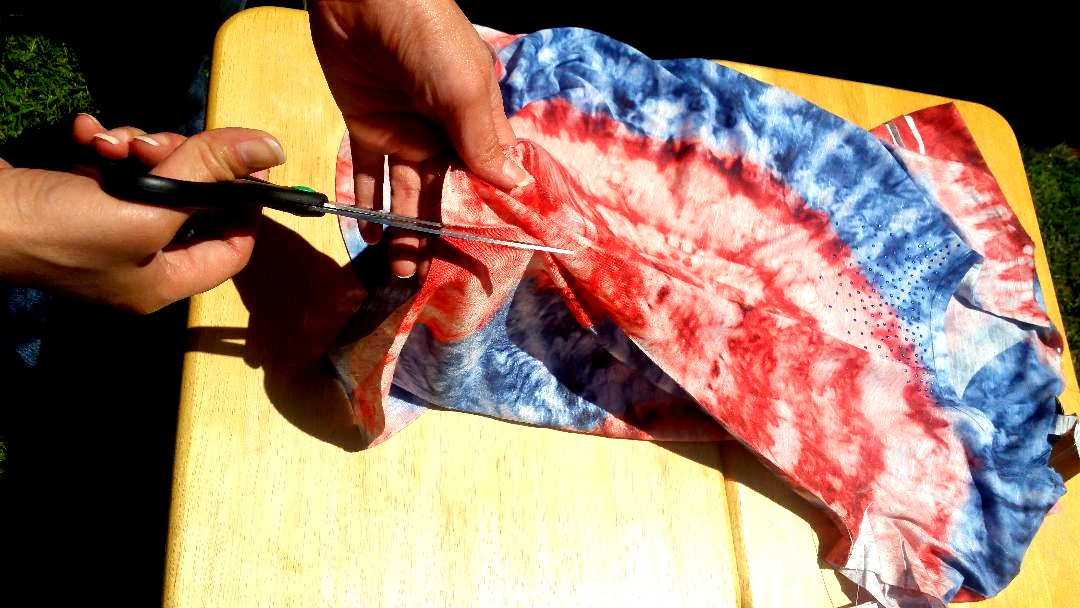
Before you start cutting, find a place to cut the fabric that has good lighting. I chose to work outside on a table. See the picture below of where to cut the t-shirt.
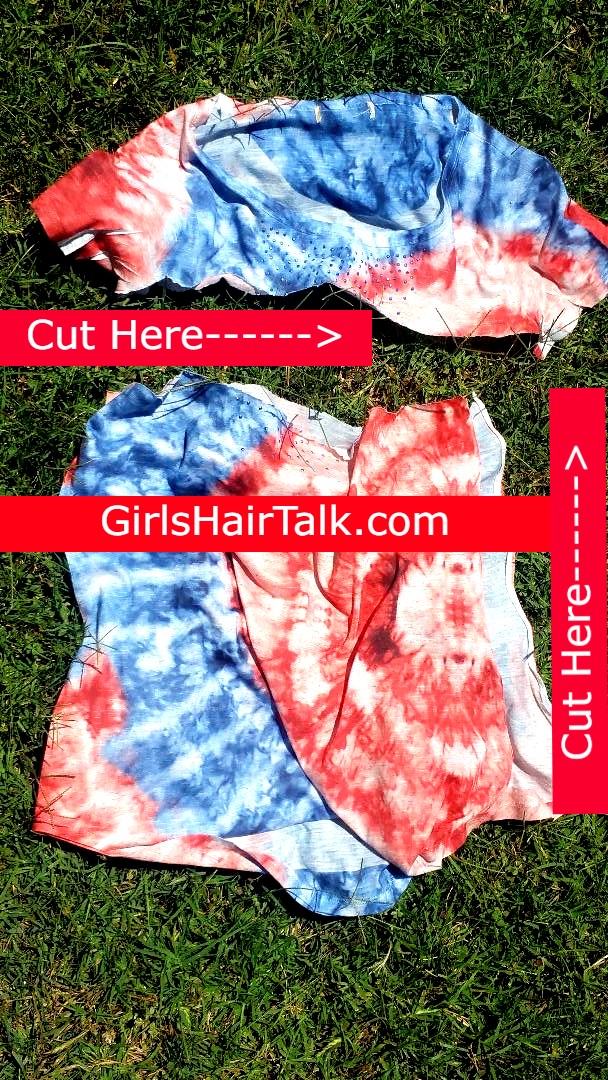
I cut the t-shirt straight across - right under the armpits area and along the side of the t-shirt (which is pictured above). You don't need the top part of the shirt for this DIY.
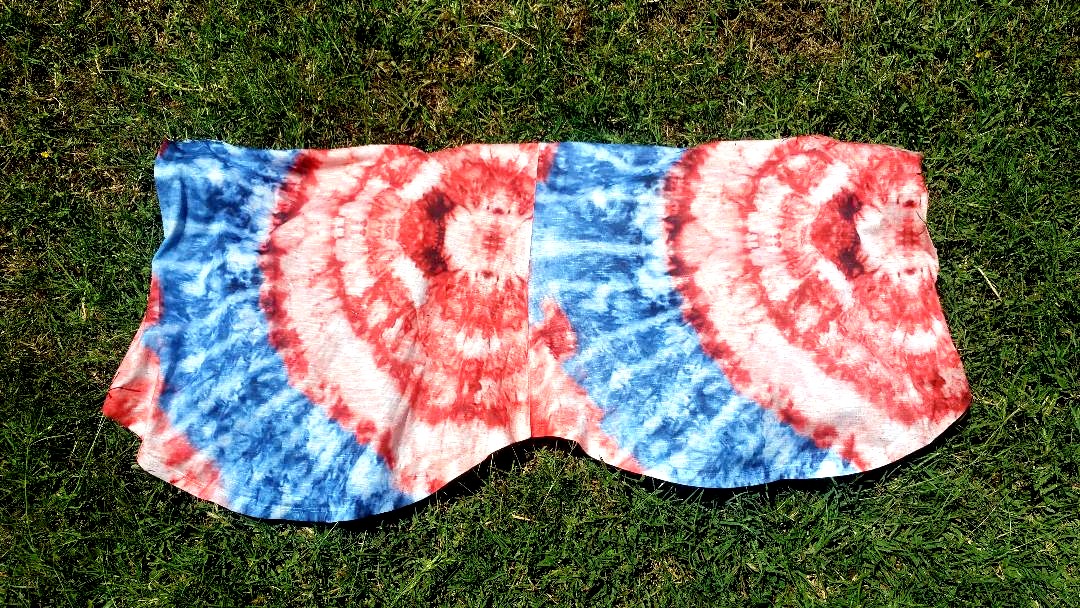
This is what the bottom fabric looks like when you spread open the shirt fabric after cutting it.
Tip: I stopped here but if you want an even smaller head scarf like the size of a bandanna. You can cut the t-shirt again down the center, and you will get the shape of 2 squares. Doing so will give you two identical size head scarfs for you and a friend to wear together!
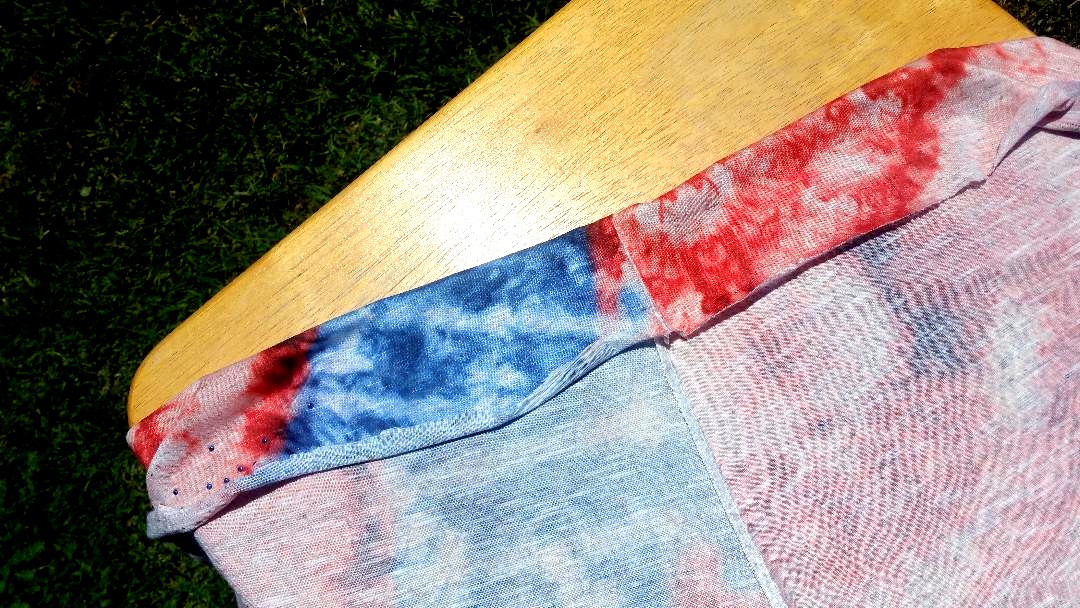
Lastly I folded a cuff on the inside of the fabric where I wanted my forehead to be so nobody can see where I cut the fabric when looking directly at me while I wear it.
Tip: you can also iron this fabric down to make the crease a little more permanent if you want. Someone that is a crafting queen can sew this part down but that is not I. LOL
Finished Look Of My
DIY Head Wrap From T-Shirt
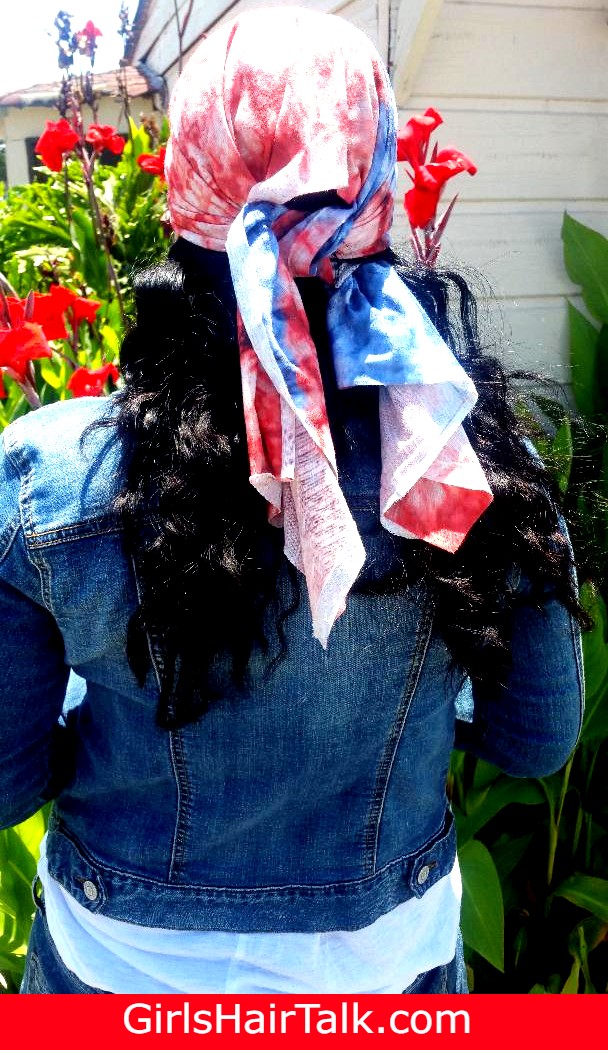
I simply tied the fabric over my hair. I know there are a ton of other ways that you can style this head wrap from a t-shirt. So I hope you will style it the exact way that you would want to. As for me I really enjoy this simple look for the summer!
Tip: If you choose to turn yours into a smaller head scarf you can tie under the hair for a cute peasant style look, I adore that style as well!

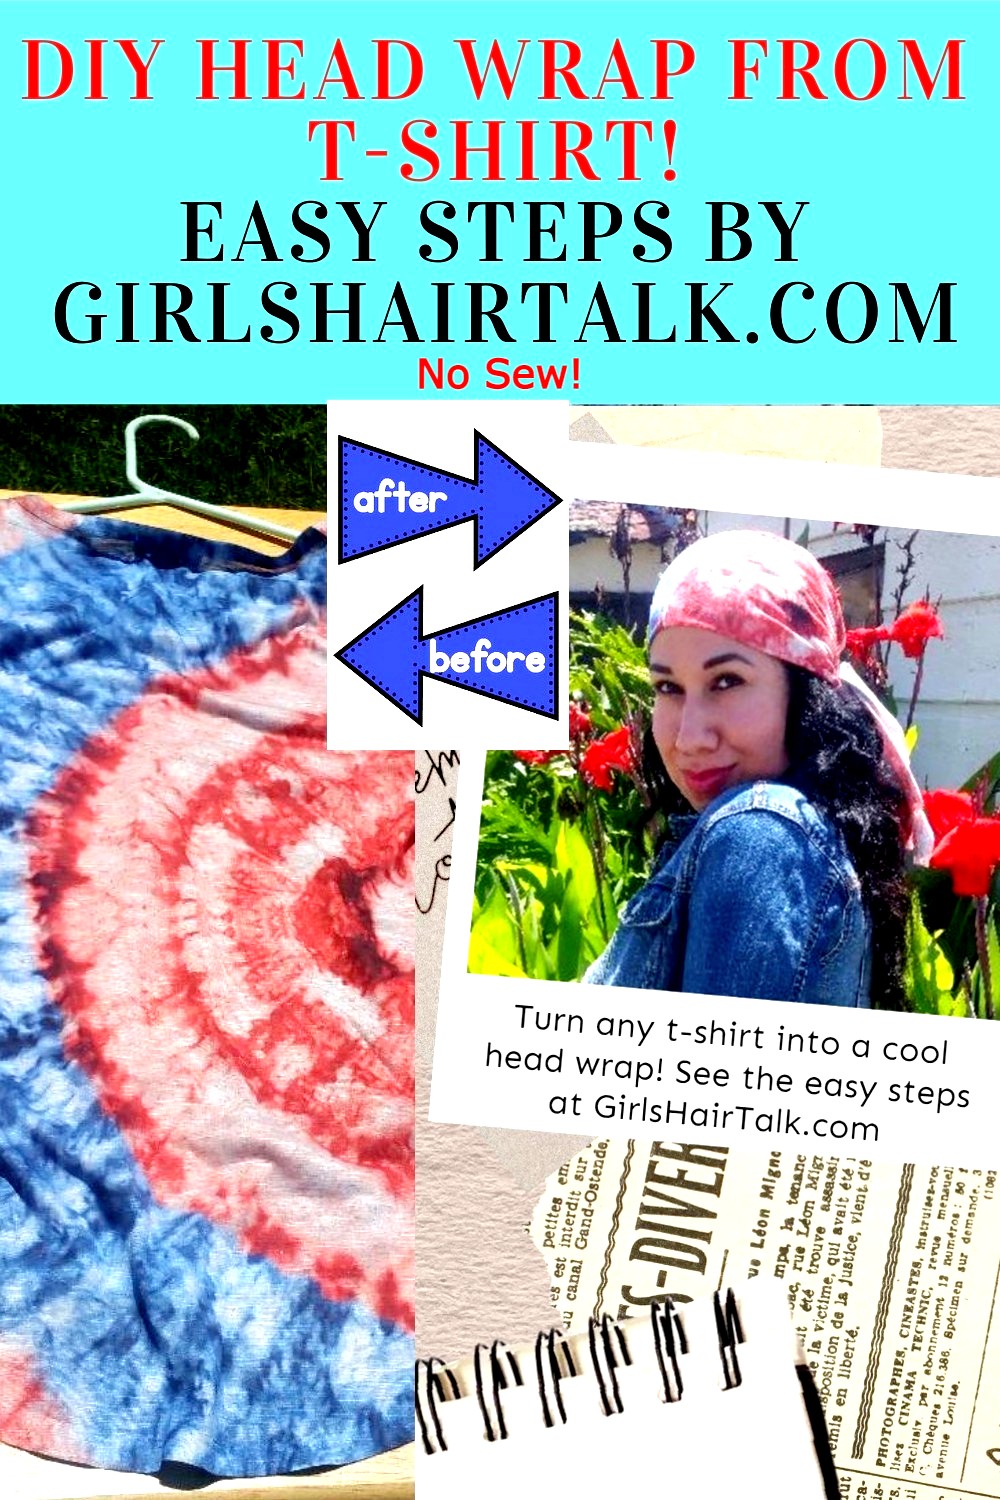
I choose this fabric to celebrate the 4th of July this summer!
I got this shirt on clearance at the store and couldn't wait to turn my shirt into a cool head wrap to show you guys how to do it too!
Tip: Try to find an outfit and a lipstick color that matches any part of your head wrap fabric when you wear it for a beautiful overall look and style that brings the look of your outfit altogether.

This is my finished look! I hope you will try this DIY head wrap from t-shirt craft sometime if you would like to try a different style like I did!
Home > Head Covers For Cancer Patients > DIY Head Wrap From T-Shirt
🎟 Click Here For The Fall Entertainment Schedule Of 2025 Ticket Sale!!

Hello beautiful! I'm Margarite, the creator and owner of this site. I'm also a licensed Cosmetologist since 2003. I am writing this site for you with knowledge and love!❤
GirlsHairTalk .com continues to help women's hair loss thinning with over 1 million+ visitors and counting Thank You!

Women's Hair Loss Blog News!
-
Halloween Costumes For Bald Guys - DIY Last Minute Ideas!
Oct 26, 25 11:17 AM
Halloween costumes for bald guys that are the best DIY last minute ideas! -
Cause Of Female Hair Loss Thinning In Women
Jul 30, 25 08:14 PM
Cause Of Female Hair Loss Thinning In Women At Crown, Top, Sides, Temples And All Over. -
Molly Tuttle Hair Loss What Happened?
Jul 24, 25 12:08 PM
Molly tuttle hair loss, is she going bald what happened? -
DIY Head Wrap From T-Shirt For Women's Hair Loss Thinning
Jun 15, 25 09:12 PM
DIY head wrap from t-shirt to cover hair loss thinning for women as a fashionable craft idea to do at home! -
Is Prince Harry Bald What Happened To His Hair?
Feb 28, 25 07:31 PM
Is Prince Harry bald and losing his hair? What happened? -
Is Bret Michaels Bald? Does He Wear A Wig? What Happened?
Feb 24, 25 08:29 AM
Is Bret Michaels bald? Does he wear a wig? What Happened? -
Is Tim McGraw Bald? Does He Wear A Toupee? Find Out!
Feb 15, 25 12:28 PM
Is Tim McGraw bald and does he wear a toupee?
